In the dynamic realm of digital storytelling, Google Web Stories have emerged as a powerful tool for captivating audiences. Enhancing this experience further, the addition of a “Learn More” button provides a seamless transition from your stories to additional content. If you’re eager to harness this feature, follow our step-by-step guide below.
Table of Contents
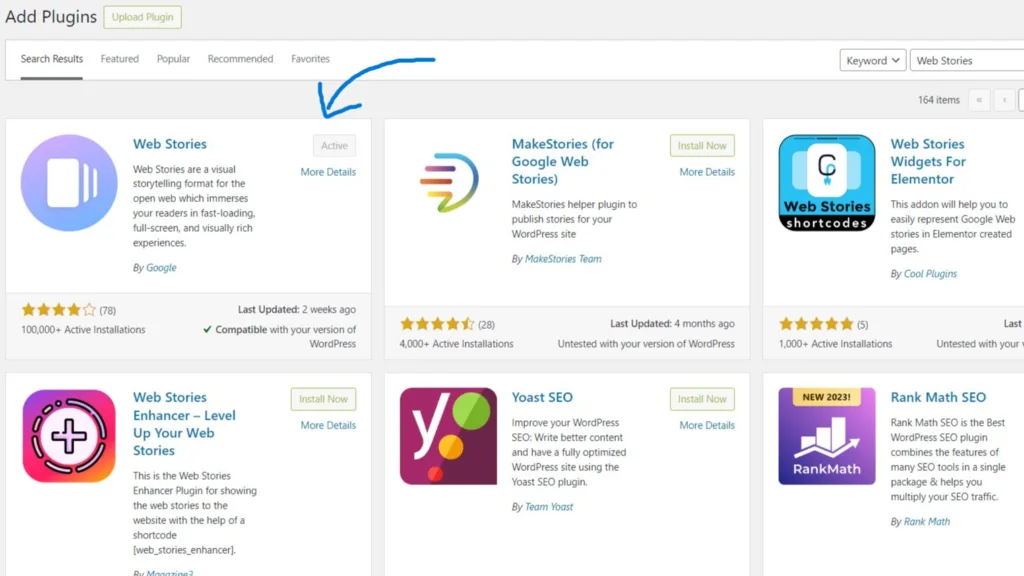
Step 1: Plugin Installation
- Navigate to your WordPress dashboard.
- Go to “Plugins” and click on “Add New.”
- In the search bar, type “Web Stories.”
- Locate the plugin, click “Install Now,” and activate it by pressing “Activate.”
Step 2: Accessing Web Stories
- On the left panel, find and click on “Stories” in your WordPress dashboard.
- Select “Add New” to begin crafting your engaging Web Story.
Step 3: Crafting Your Story
- Populate the empty canvas with a mix of images, videos, and compelling text.
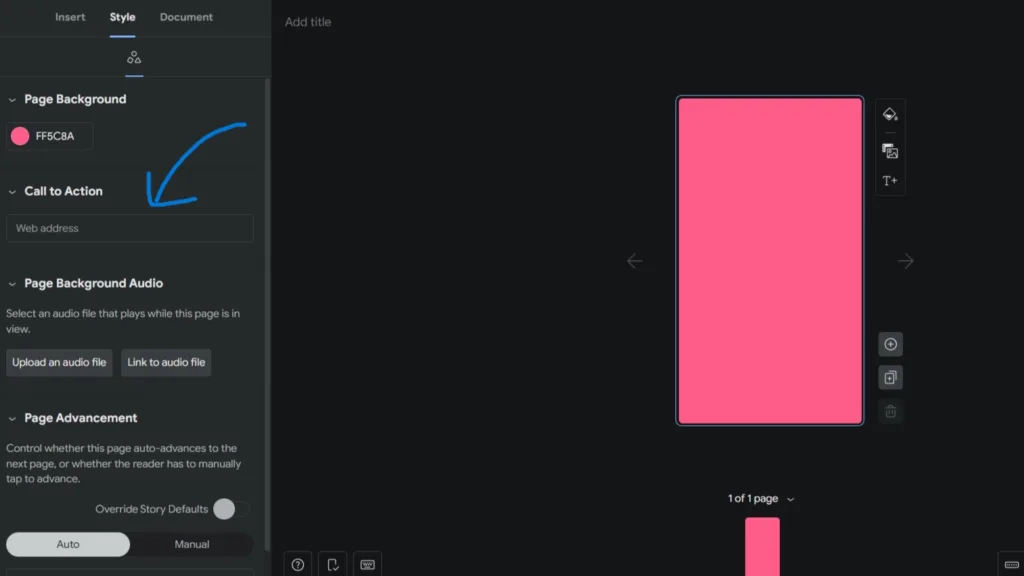
- Move to the “Style” option after selecting your page.
Step 4: Introducing the “Learn More” Button
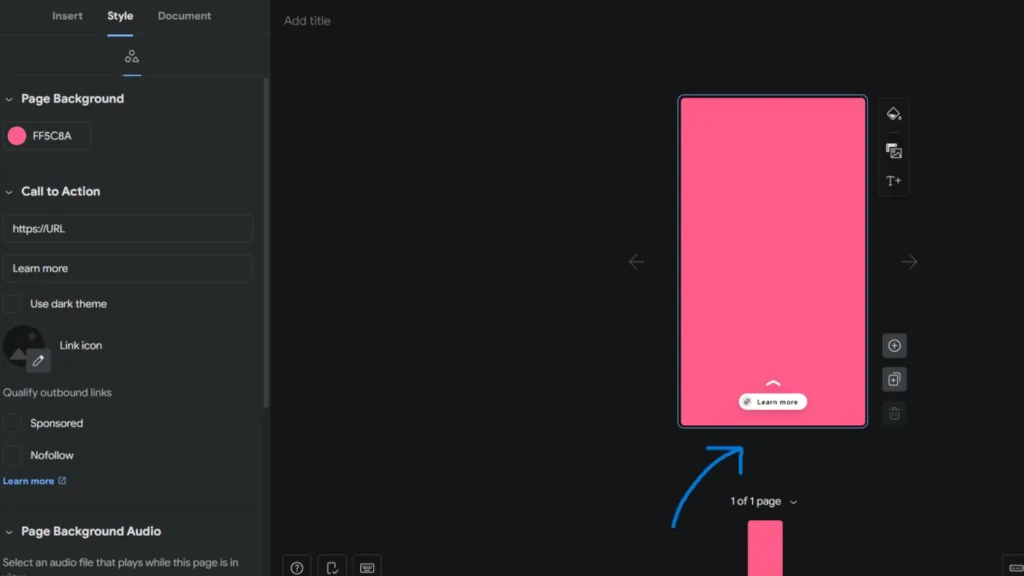
- Within the “Style” settings, find the “Call to Action” option.
- Here, insert your desired web address as the URL link.
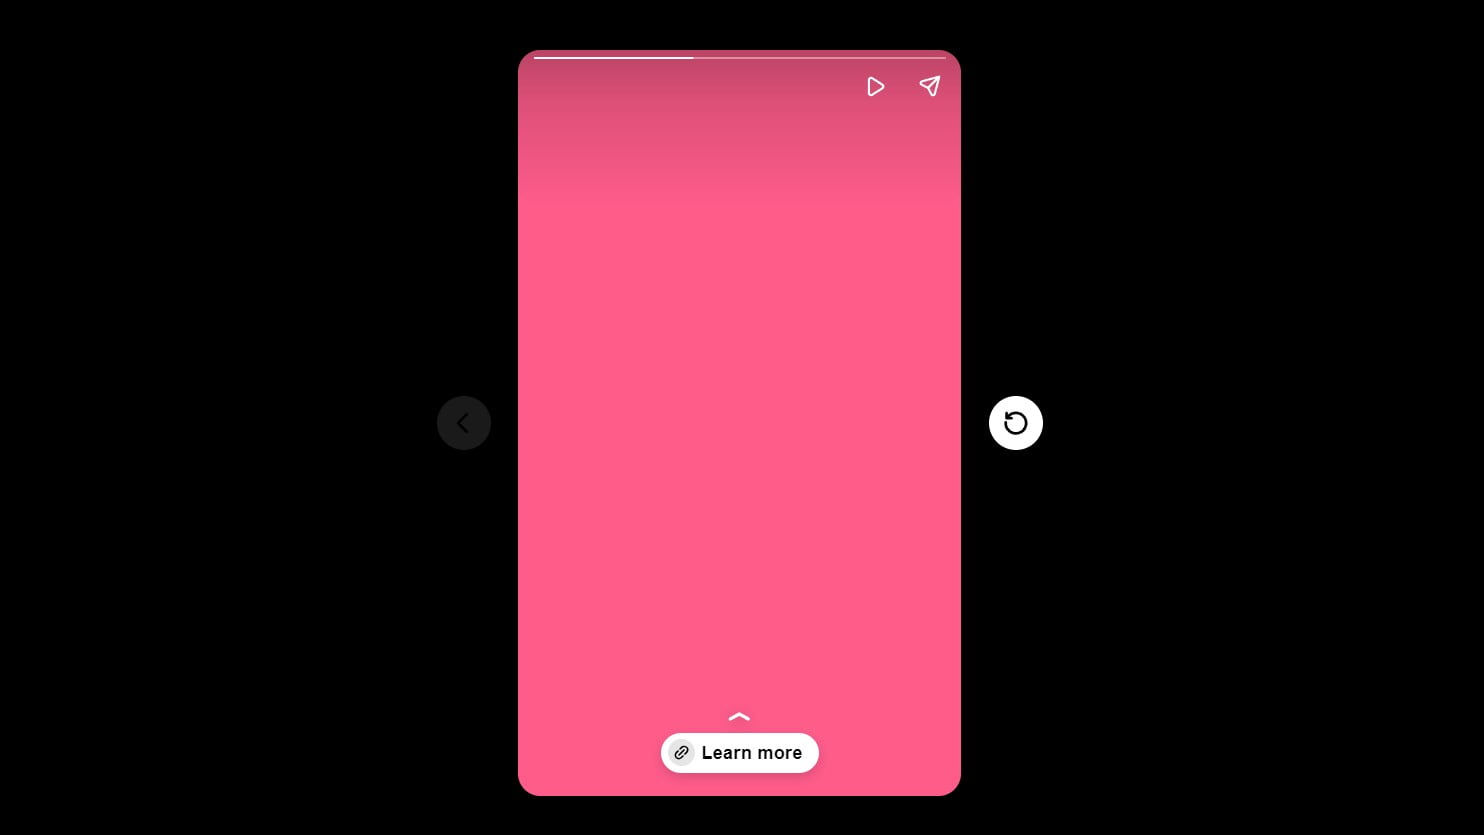
Step 5: Witness the Transformation
With a simple click, the “Learn More” button becomes a gateway to deeper insights. Your audience can seamlessly transition from the immersive experience of your Web Story to explore additional content.
As you embark on this journey of elevating your Google Web Stories, the “Learn More” button serves as a bridge, connecting your storytelling prowess with an extended narrative. Elevate your digital narrative and keep your audience engaged effortlessly!


2 thoughts on “How to add “Learn More” Button to Your Google Web Stories”